
How to Create a Custom lasercut CDR Design in CorelDRAW
Table of Contents
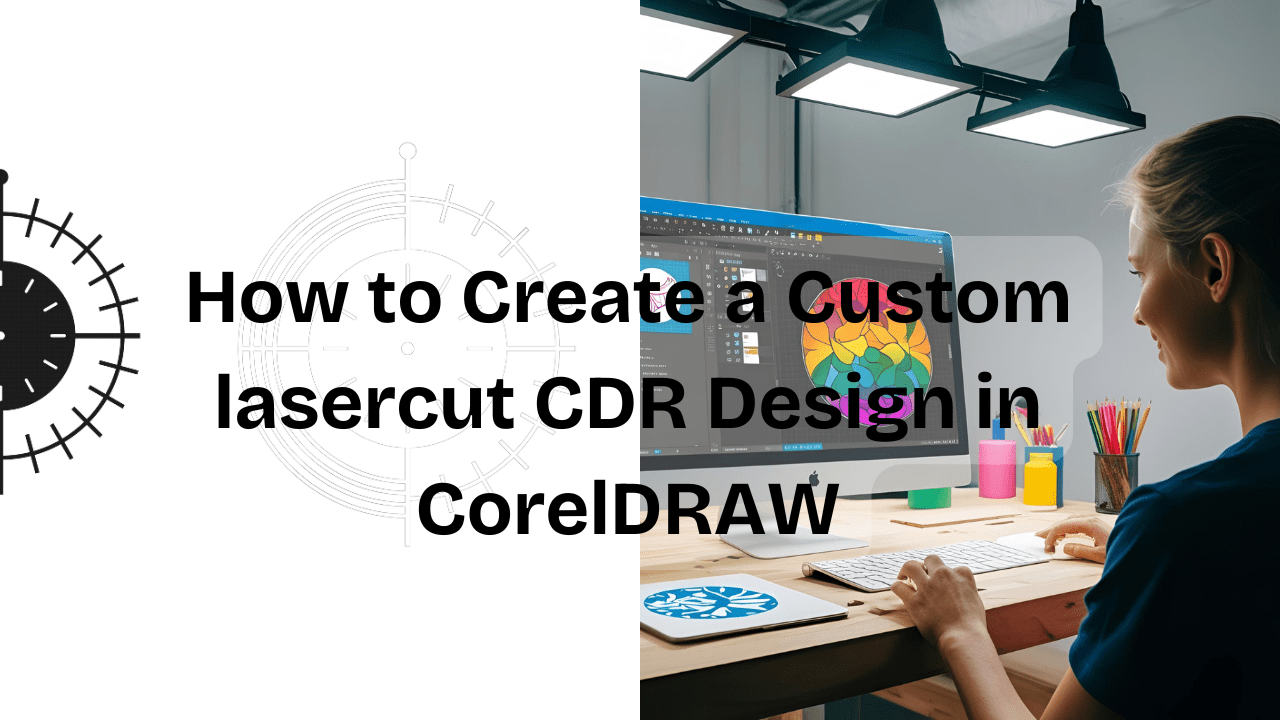
Designing one’s own laser cut template is very satisfying and entails merging creativity with technology, especially in CorelDRAW. If you wish to perfect your artwork and convert it to a custom laser cut design, you can do it by following these directions.
1. Prepare The Workspace
- Launch CorelDRAW: With CorelDRAW, open a new document.
- Define Page Dimensions: Adjust the page dimension to be the same as that of the material size or the size of the bed of the laser cutter. This step makes sure that the design fits the space available for work.
2. Create Your Design
- Incorporate Text: It is important to select the appropriate font. During the cutting process, one must ensure to convert it to curves (Ctrl Q) to ensure the design remains intact.
- Ensure Connectivity: In designs that have cuts in the middle, all parts must be joined in some way or overlapped in order for no additional substrate pieces to drop off.
3. Assign Line Properties
- Set Line Width: Adjusting the line widths is crucial. Generally, laser cutters are programmed to interpret hairline (0.001 inch) lines as paths designated for cutting.
Some laser Cutters utilize color codes, where red lines are cuts and black areas are for engravings.
4. Prepare for Export
- Make sure all paths are closed so that the laser cutter does not misinterpret your design.
- Remove any overlapping lines that could cause the cutter to cutover the same area multiple times.
- Position your design accordingly. Fitting it within the document’s boundaries and aligning it in the way that you’d like it to be cut onto the material.
5. Export Your Design
- When removing the laser border, ensure the remaining piece is in a acceptable format for the laser cutter such as DXF or PDF. It is always good to check the manual for the preferred format.
- Check that the export settings do not alter the scale and dimensions of the design.
Additional Resources
If you are a visual learner who prefers practical demonstrations, Technical Hub also has some useful videos on how to create laser cut designs in CorelDRAW, so check out their channel here.
- How to Create Clock Laser Cutting Design in CorelDRAW: This video walks you through the process of designing a clock that can be laser cut.
- How To Go About This Clock Design’s Creation In CorelDRAW: An additional wonderful source is available concentrating on clock design and other techniques and tips about it.
- CorelDRAW Tutorial DIY File – Preparing a Laser Cutting Design for a Car Dashboard: This video explains how to create a car dashboard, focusing on higher level design skills.
If you put into practice the above mentioned steps and utilized the available materials, you should be able to come up with precise and beautiful designs that are ready for laser cutting. You should always check your laser cutter’s instructions and do some test cuts to get the best quality.
Note: CorelDRAW tutorials by Technical Hub YouTube channel will prove useful when it comes to laser cutting.

Leave A Comment