
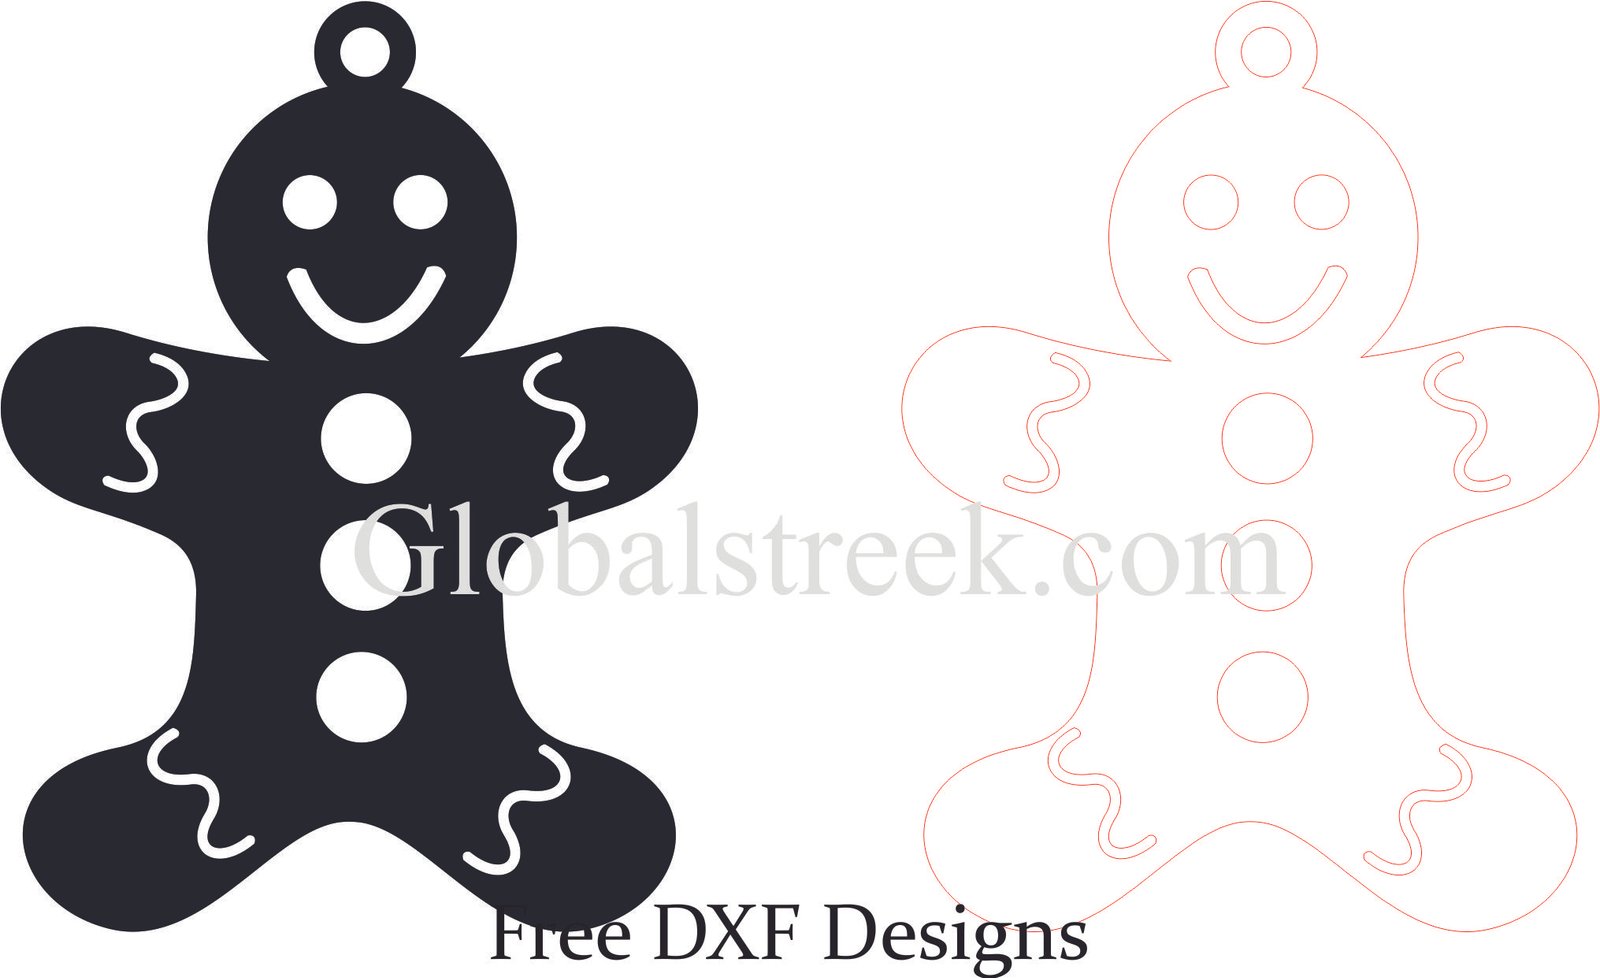
Have you been searching for a good design of Laser Cut MDF Ornament 7? Download this free DXF file from GlobalStreek to make beautiful ornaments with a CO2 laser machine or a CNC machine. This does not matter if you are into do it yourself projects crafts, home ornaments, or even for Christmas. This ornament will definitely help you enhance your work.
What Makes This DXF Unique?
This laser-cut intricate MDF ornament would make a fantastic addition to decorations made during Christmas holidays as a souvenir or other artistic personal gifts. There are many benefits to downloading our free DXF file like:
- Precision-cut details cuts performed with lasers.
- Compatible with CNC routers, CO2 laser machines, and fiber lasers.
- Can be resized to any dimension as per need, so that it meets the requirements of your project.
- CorelDRAW, AutoCAD and LightBurn friendly and easy to use.
- Completely free with no hidden costs whatsoever from GlobalStreek.
👉 Download Link below
What Is An MDF Ornament?
An MDF ornament is a laser-free cut item made out of Medium Density Fiberboard.
MDF Is Ideal For Laser Cutting Because It:
- Cuts cleanly and has a low risk of charring.
- Maintains strong and unity designs due to its density.
- Less expensive than solid wood or acrylic.
- Can be painted, stained, or layered for a 3D effect.
These ornaments can be used for:
- Custom souvenir and gift items
- Decoration for walls, and home hanging ornaments
- Decoration for events and weddings
- Festive decorations (Christmas, Easter, Halloween, Diwali, etc.)
Instructions on How to Cut the MDF Ornament 7 Using A Laser CNC Machine Or Laser Cutter
Follow these instructions carefully to cut out your MDF ornament on a laser cutter or CNC machine.
STEP 1: Obtain DXF File
Simply go to GlobalStreek and fetch the Laser Cut MDF Ornament 7 DXF file. The file is free to obtain and can be opened with any shredder software.
👉
STEP 2: Upload the DXF File to Your Software
Your options include:
- LightBurn (recommended for laser cutters)
- RDWorks (only for CO2 lasers)
- CorelDRAW or AutoCAD (if you need to edit or customize)
STEP 3: Choose Your Material in The Software
Choose your material for the project from three options: MDF, plywood, or acrylic. When choosing MDF keep in mind that you can use:
- Thin lightweight ornaments can be achieved with 3mm MDF.
- For sturdier pieces, you can go with 5mm MDF.
- For layered 3D effects use the 6mm MDF.
Step 4: Modify Laser Settings
Different machines produce different quality results to cut MDF. As such the laser setting for every machine needs to be adjusted to achieve the best results from your machine.
- CO2 Laser (40W-60W): Speed: 300 mm/min, Power: 90%
- CO2 Laser (100W+): Speed: 500 mm/min, Power: 80%
- Fiber Laser (for engraving only): Power must be between 20 – 30% for details.
Step 5: Initialize the Cutting Process
- Place the MDF sheet securely on laser bed making sure it does not move.
- Ensure the area is well ventilated to avoid the smoke accumulation.
- Execute cut routine, cautiously monitoring cuts.
Step 6: Final Adjustments
After it has been cut, further aesthetics such as sanding, painting, or staining can add a nice touch.
- For edges use sand paper of fine grit to sand the edges for smooth finish.
- Wood stain or acrylic paint can be applied for finishing touches.
- If needed randomly place layers and assemble to give 3D feel when viewed from different angles.
Leave A Comment